Setting up your Python Environment
For this course, you will have to set up your own environment, as additional Python packages have to be installed that may conflict with packages that are installed in your global environment. Setting this up is very simple, and we’ll go through this step by step. To get started, you can already download the Jupyter notebook to test if your environment is set up correctly.
For your convenience, you can create a folder on your computer named 8bm050 and use this to store all the Jupyter notebooks and other files that you will use during this course.
1: Installing Anaconda
If you have an existing installation of Anaconda, you can skip this step. Otherwise, download anaconda from this link. You’ll end up on this page: 
Follow the instructions provided to obtain a full installation of Anaconda.
2: Setting up the Anaconda environment
On your machine, open Anaconda Prompt
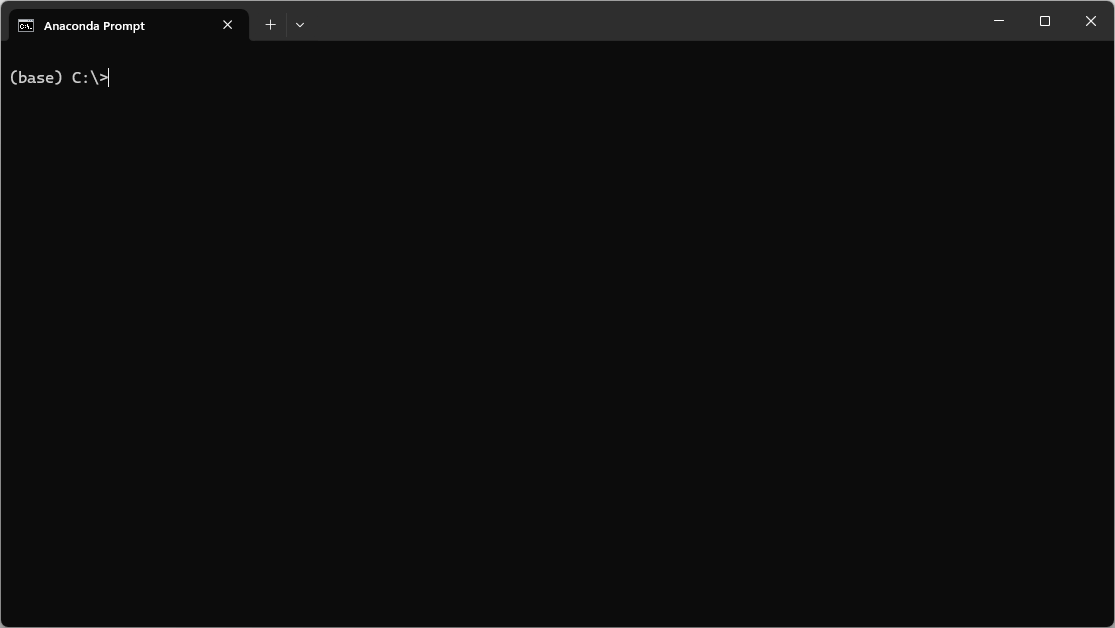
Creating the conda environment
Type in the following command to create the conda environment. This command creates a new environment named 8bm050 with Python version 3.12.
conda create -n 8bm050 python=3.12When it asks to proceed, hit [Enter] to start creating the environment.
Now, we have to activate the environment. Run the following command:
conda activate 8bm050Now we need to download some additional packages to be able to work with this environment. Run the following command in your activated environment:
conda install numpy matplotlib scipy jupyter ipykernelAnd hit [Enter] after it asks to proceed.
Running Jupyter from your conda environment
To use this newly created environment. Open Anaconda Navigator

On top, click the drop-down menu that says base (root) and select 8bm050. You’ll now have this on the top of your anaconda navigator window.

Then, launch Jupyter from the anaconda navigator to use them in this specific environment.
Setting the environment in VS Code
If you want to use this environment in VS Code, you can open the folder you created for storing the notebooks in Visual Studio Code. Then, on the bottom bar where it says: Python 3.x.x 64-bit ('base': conda), click on it to change it to Python 3.12.0 64-bit ('8bm050': conda). In a Jupyter notebook opened through VS Code, you can also change the kernel to Python 3.12.0 64-bit ('8bm050': conda) in the top right corner.
Further Steps
When you want to use your default global environment again. Simply go to Anaconda Navigator and on top select base (root) to activate your base environment.